Manufacturing PCB Stencils using Laser Cutter
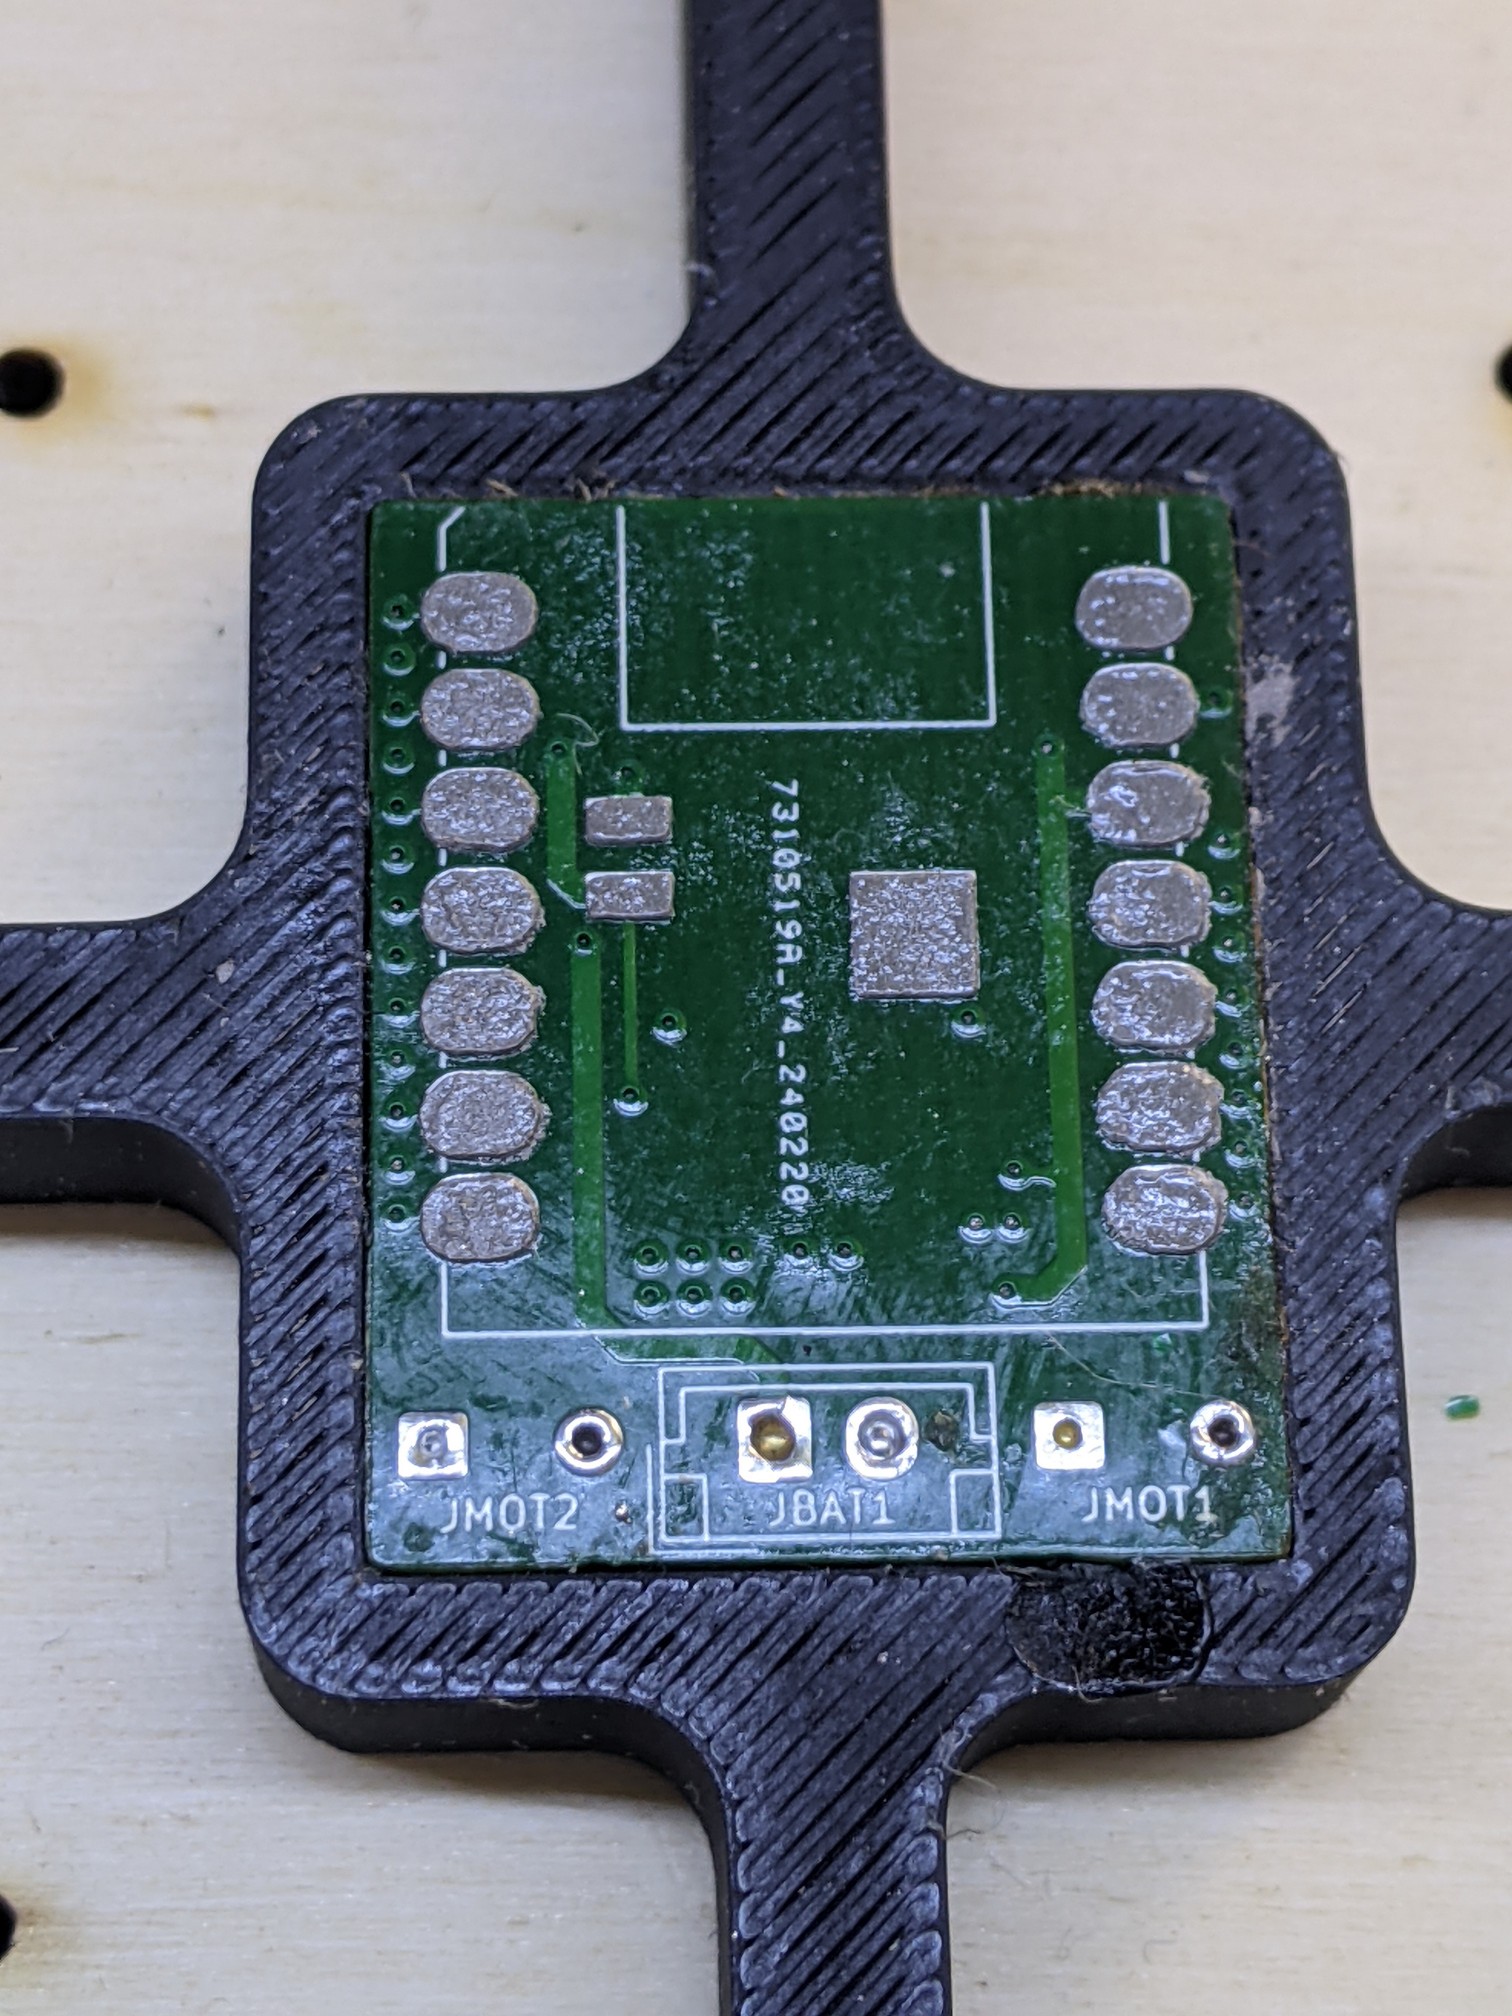
For A-Maze-Ing I did not have JLCPCB produce stencil because they would triple the shipping costs, figuring I could make them at the fablab on my own. I had JLCPCB assemble the bottom side of the PCB (motor driver, leds, dipswitches), but not the topside (SMD microcontroller XIAO ESP32-C3, with pins on the bottom side for battery charge [which we use])
Using KiKit in KiCAD: https://yaqwsx.github.io/KiKit/v1.3/stencil/
3D Printed stencil
3D Printed stencils work fine with solder paste, but battery pads are difficult to put the corrent amount of paste on and often results in shortcircuits on the battery terminals. The pads are also small and often they cannot be printed well, trying to refine it with a needle ruins the adhesion between the pcb and the stencil.
Printed on the BambuLab X1C, used this command to generate the stencil
lost in my bash history
Plastic stencils
Our laser cannot cut metal, however I had a very thin transparent shit of plastic available (in thickness, figure double the thickness of a normal A4 Paper, probably used for photocopies or such)
Link to the alignment jig works, but from autodesk online it is impossible to download. Download the stencil from github https://github.com/yaqwsx/KiKit/blob/master/docs/resources/jig.step, import in Fusion 360, and export DXF of the both the pieces of the alignment jig.
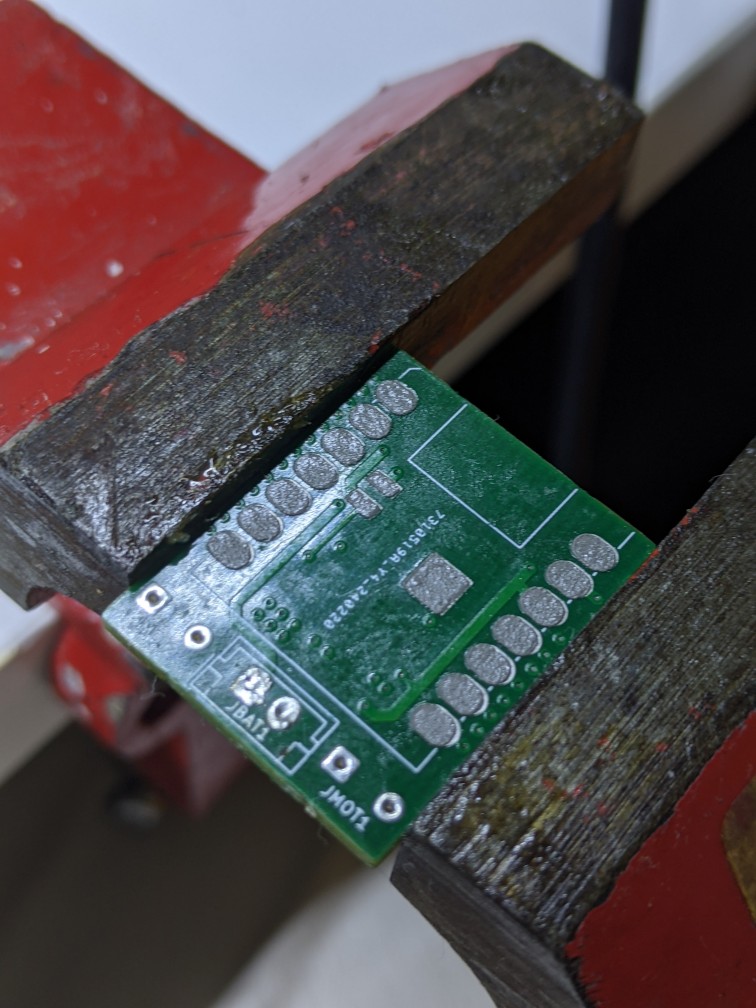
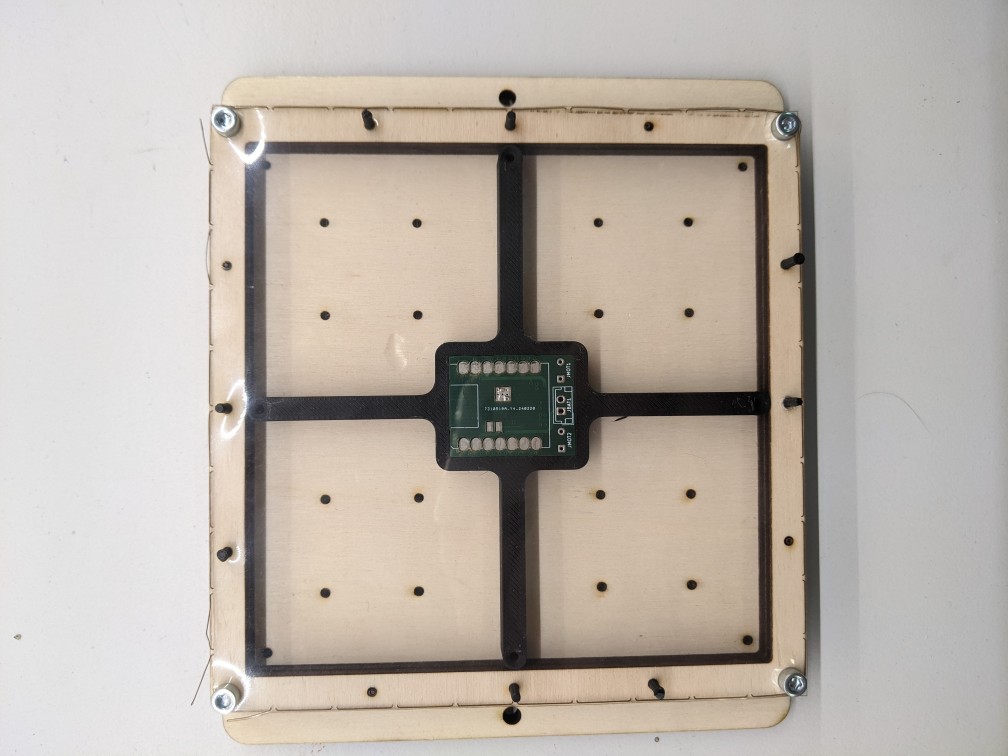
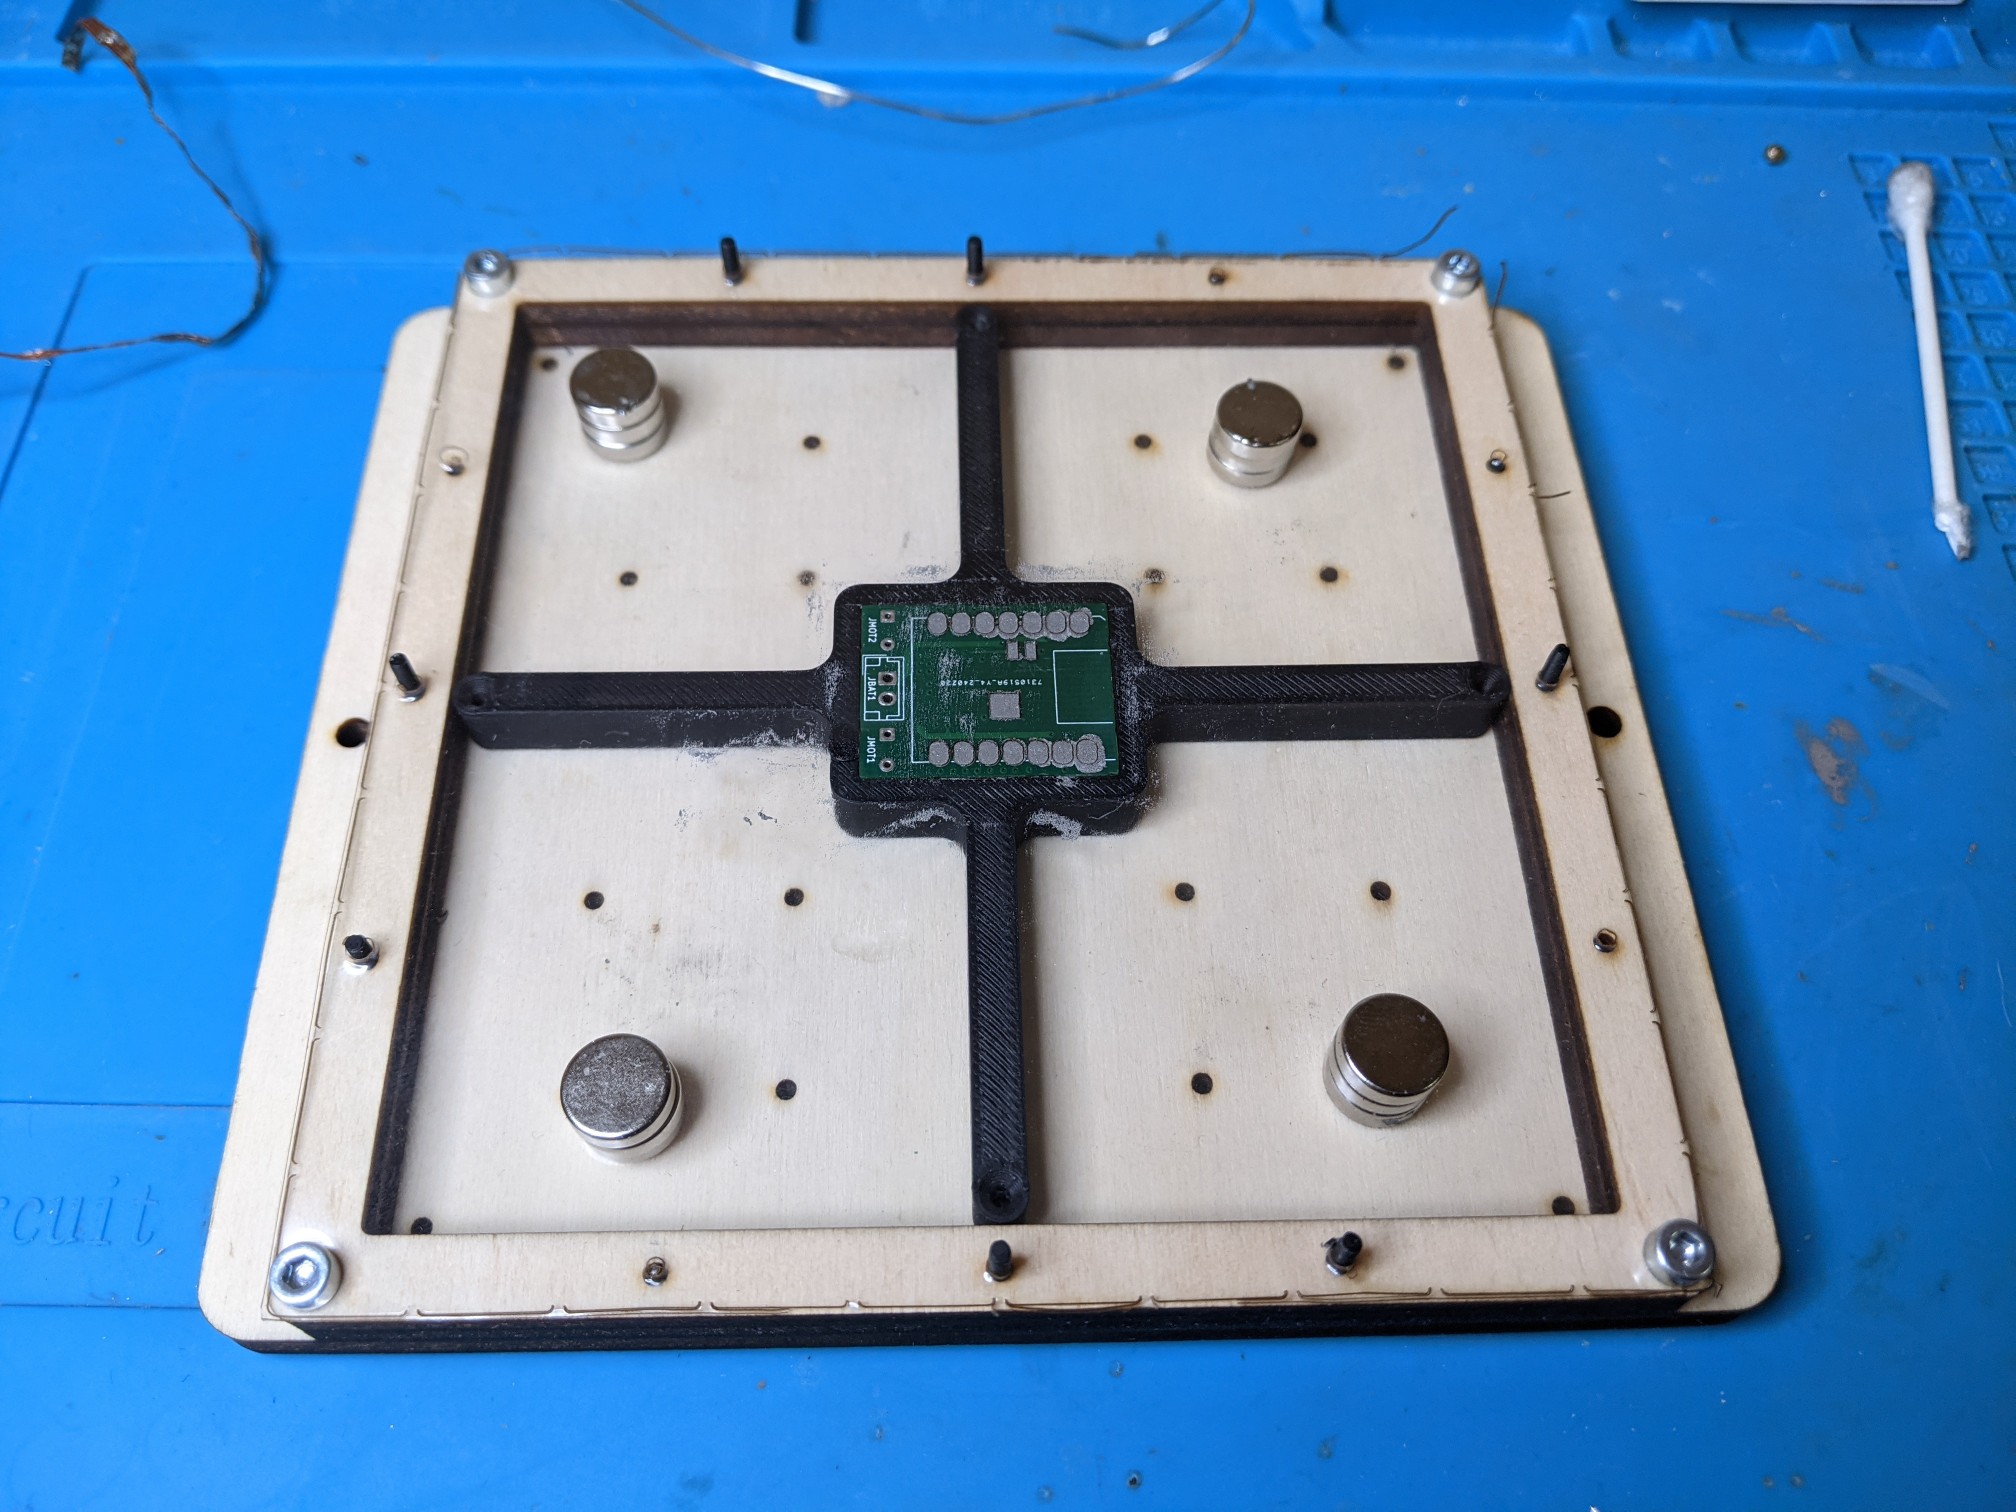
PCB already has components on the bottom side. I cut the alignment jigs in plywood on the big laser, the base in 4mm plywood, the middle piece in 8mm plywood to account for the thickness of the components already assembled on the bottom side. Assembled the two with 4x 3M screws in the corners.
Generated the register with kikit
kikit stencil create --jigsize 100 100 --jigthickness 8 --tolerance 0.1 robot.kicad_pcb stencil
Important: jigsize in the command and the jigsize the in fusion360 must be equal. Jigsize in F360 is parametrized.
I did not have 2mm aligment pins available, so I imported jig.step into prusaslicer, isolated the pins and printed a bunch, with a very large brim on the X1C. Printed that and the register at 0.2mm stock profile, pins could probably benefit from finer layer height. They break easily but I consider them consumables and they do the job. Could try metal nails for wood. Also could try increasing the diameter a little to account for the tolerance of the laser cutter.
The command generates only gerber files for the actual stencil, converted them into postscript, then imported into Adobe Illustrator and finally sent to the laser (our laser does not play nice with dxf, but the option is there)
gerbv -x ps stencil-PasteTop.gtp
pstoedit -f dxf output.ps mydxf.dxf
Note: it seems ellipsis have been transformed into multiple, overlapping circles, with some stray lines in between. Does not ruing the design but the laser does multiple passes on the same point.
Cut the thin plastic sheet on the lasers works mini, 15 velocity, 15 power.
All assembled and fit is good, pads are well exposed but I still have not tried putting paste on it.